
How to Clean Hearing Aids: Do’s and Don’ts
In the vibrant world of sounds and conversations, hearing aids play a critical role. They are not just devices but essential companions that bridge the gap between silence and the symphony of life. To ensure their longevity and maintain optimal performance, it’s important to understand how to clean hearing aids effectively. In this comprehensive guide, we’ll explore the dos and don’ts of cleaning hearing aids, focusing on techniques and tips to keep your devices in top shape.
Why Do You Clean Hearing Aids?
Just like any sophisticated piece of technology, hearing aids require regular care. They are prone to accumulating earwax, sweat, dust, and even tiny crumbs. These seemingly insignificant particles can clog the vital components of your hearing aids, leading to muffled sound quality or even malfunctions. Regular cleaning is not just about preserving sound clarity; it’s also crucial for your health. It prevents the risk of infections and extends the life of your devices, ensuring they continue to enrich your life with quality sound.
Are you worried about your ear wax? Understand more about professional ear wax removal.
The Essential Cleaning Tools
Before diving into how to clean hearing aids, it’s important to have the right tools. Stanford Hearing or similar specialized hearing aid stores provide a variety of tools designed specifically for this purpose. Here are some essential tools you should consider:
- Hearing Aid Brush: This is a must-have in any hearing aid cleaning kit. Its fine bristles are designed to gently remove surface contaminants like wax and dirt without damaging the device.
- Slim Tube Cleaning Tool: Specially crafted for hearing aids, this tool effectively clears away dust, wax, and other particles from the tubing, ensuring unobstructed sound passage.
- Wax Loops: Essential for removing earwax that blocks sound transmission, these loops are designed to clean the ear canal opening of the hearing aid effectively.
- Earmold Tubing Blower: After cleaning, this device is used to blow out excess moisture and debris from the earmold, tubing, or vents, preventing moisture-related damage.
- Hearing Aid Wipes: These alcohol-free towelettes are perfect for disinfecting your hearing aids and earmolds without causing any damage to the sensitive components.
- Microfiber Cloth: This soft, lint-free cloth is ideal for removing any residual wax and debris after cleaning.
- Hearing Aid Dryers: These devices help to protect your hearing aids from moisture damage. Some models include a UV component for additional disinfecting and cleaning.
- Multi-tool: A convenient tool that combines both a brush and a wax loop, providing a comprehensive cleaning solution.
Maintaining Hearing Aids: The Do’s and Don’ts
How Do You Clean Hearing Aids? The Do’s:
- Use the Right Tools: Always use tools specifically designed for hearing aid cleaning to avoid any damage.
- Follow a Regular Cleaning Routine: Incorporate daily and weekly cleaning habits to ensure your hearing aids are always functioning optimally.
- Be Gentle and Thorough: Use soft, careful motions when cleaning, ensuring all nooks and crannies are attended to.
How Do You Clean Hearing Aids? Don’ts:
- Avoid Water and Harsh Chemicals: Never submerge your hearing aids in water and steer clear of alcohol-based or abrasive cleaners.
- Don’t Expose to Extreme Heat: Keep your hearing aids away from direct heat sources like hair dryers or direct sunlight, as this can damage the electronics.
- Don’t Store in Humid Areas: Avoid leaving your hearing aids in bathrooms or other humid environments to prevent moisture damage.
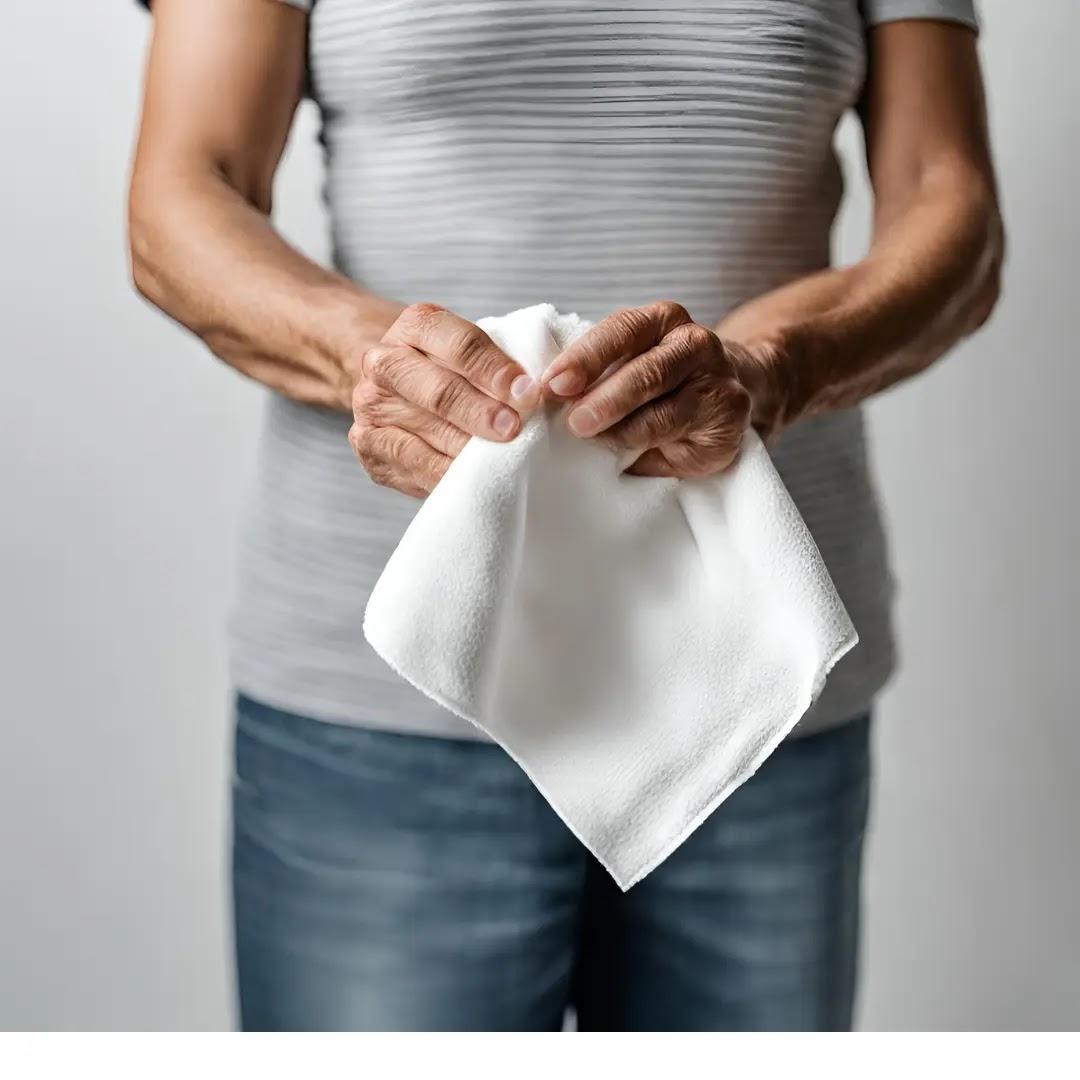
Hands clean a hearing aid with a microfiber cloth.
How To Clean Hearing Aids: Daily Cleaning Routine
Incorporating a daily cleaning routine is essential for the longevity of your hearing aids. Here’s a simple daily routine to answer the question, how do you clean hearing aids?
- Exterior Wipe: Start with a microfiber cloth to gently polish the exterior of your hearing aids. This step removes fingerprints, dust, and surface earwax.
- Brushing: Use a soft brush to clean around the microphone and receiver openings gently. This helps to remove any debris lodged in these tiny spaces.
- Filter Check: If your hearing aids have filters, inspect them daily for wax buildup. Replace them as necessary to ensure clear sound transmission.
Are you a visual learner? Check out our video library to see clearing in action.
Different Hearing Aid Types
How Do You Clean Hearing Aids? In-the-Ear (ITE) Hearing Aids:
- Remove the hearing aid and hold it facing downwards.
- Gently brush the outer parts, focusing on the receiver, microphone covers, and ventilation areas.
- Use a wax loop or pick for any stubborn wax or debris.
- Clean the ventilation tube with a slim tube cleaning tool.
- Wipe down the entire hearing aid with a microfiber cloth.
- Check that it’s working properly post-cleaning and replace batteries if necessary.
- Store in a case or use a dryer or dehumidifier to prevent moisture buildup.
How Do You Clean Hearing Aids? Behind-the-Ear (BTE) Hearing Aids:
- Remove the hearing aid and detach its tubing.
- Use a brush to clean the device, focusing on the receiver and microphone covers.
- Employ a wax loop or pick for any persistent wax or debris.
- Clean the microphone openings and tubing carefully.
- Follow the manufacturer’s instructions to soak and clean the earmold.
- Use an earmold tubing blower to remove any moisture or debris.
- Dry all parts with a microfiber cloth and reassemble the hearing aid.
- Test the functionality and replace the batteries if needed.
- Store in a dry place or use a dehumidifier.
Explore more about different types of hearing aids.
Deep Cleaning Tips
Weekly or bi-weekly deep cleaning is important to maintain the hygiene and functionality of your hearing aids. This involves:
- Mixing warm water with a mild soap.
- Gently wipe the hearing aids with a soft cloth dipped in the solution.
- Drying thoroughly with a lint-free cloth.
- Replacing the batteries if needed.
Always refer to your hearing care specialist’s advice and your manufacturer’s guide for specific steps tailored to how to clean hearing aids in your particular style.
When to Get Professional Help With Cleaning Hearing Aids
Even with diligent home care, professional cleaning plays a crucial role in the upkeep of your hearing aids. Stanford Hearing audiologists recommend professional cleaning at least every six months, though the frequency can vary based on individual needs and the type of hearing aid.
Hearing care specialists understand how to clean hearing aids with specialized tools to gently remove any accumulation of earwax, sweat, dust, or debris. They ensure that all debris is removed safely and completely without damaging the delicate workings of your hearing aid. The cleaning should include the receivers, microphones, tubing, and gentle cleaning of the outer housing. These appointments are generally quick and do not often require leaving your hearing aids overnight.

Two older women paint happily outside.
How To Take Care of Hearing Aids: A Final Word
Taking care of your hearing aids through regular cleaning is a small step that has a big impact on their performance and longevity. If you have any doubts about cleaning or if it’s time for a professional check-up, don’t hesitate to contact Stanford Hearing for expert advice and professional cleaning services. Remember, your hearing aids are your connection to the world of sound. Protecting and maintaining them ensures that you continue to experience life’s beautiful symphony.